 PARDESCO
Fractal Wall Art on a CNC: How the Chaos & Harmony Series Was Carved
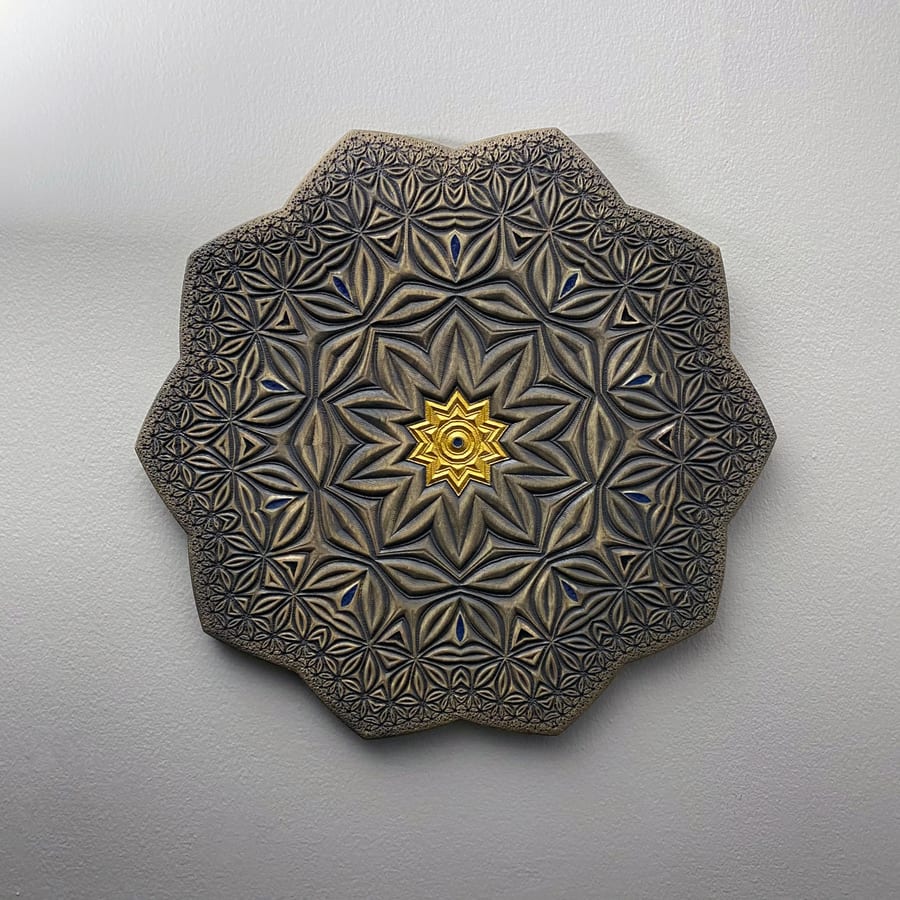
Between 2022 and 2023 I cut a series of wall pieces called Chaos & Harmony — fractal and hyperbolic mathematics carved into aspen on a desktop CNC. This is the process writeup I wanted when I started and could not find: what the toolpaths actually are, which bits do what, and where the whole thing goes wrong.
It is aimed at people who already know their way around CAM and want to point it at something other than signage. If you have a Shapeoko, a Longmill, an Onefinity or similar sitting in a garage, everything here is within reach of that machine.
Step one: the fractal is a heightmap
The trick that makes all of this work is unglamorous. A greyscale image is a depth map. Most CAM packages will read one directly and produce a 3D relief from it: black cuts deepest, white stays at the surface, and everything between interpolates. No modelling, no meshes, no manual sculpting.
That means the entire design problem becomes an image problem. If you can render your mathematics as a greyscale picture, you can carve it.
For this series I rendered in Ultra Fractal, which gives fine control over the escape-time colouring that becomes your depth. Two things matter more than the software:
- Bit depth. Export 16-bit greyscale if you can. An 8-bit image has 256 depth levels, and across a 1/2" carve that quantises to steps you can feel with a fingernail. The banding shows up in raking light even when it is invisible on screen.
- Resolution. Your depth map resolution sets your detail ceiling, not your machine. A 2000 px map across a 19" panel is roughly 105 px per inch — finer than a 1/16" ball nose can resolve anyway, which is the point at which you stop worrying about it.
You do not need Ultra Fractal to do this now. I built a 3D fractal viewer that is free to use and will export the kind of greyscale depth map this process needs. It was written for a different purpose, but it feeds a CNC perfectly well.
Step two: two bits, two passes
Every piece in this series was cut on a Shapeoko XXL — a hobby-grade machine, not an industrial router. The whole approach is built around that constraint.
The roughing pass
The 1/8" flat endmill exists to remove material and nothing else. It is not trying to make anything look good — it is clearing the bulk so the finishing bit is not asked to hog out half an inch of hardwood with a 1/16" cutter, which is how you snap 1/16" cutters.
The finishing pass — where the piece is actually made
Use a ball nose, not a flat endmill. This is the single decision that separates a carving that reads as a continuous mathematical surface from one that reads as a topographic staircase. A flat endmill leaves terraces; a ball nose leaves shallow scallops that blend into each other and behave like a smooth surface once stained.
Then the real trade-off: stepover. Halve it and the surface gets visibly finer — and the cut time roughly doubles, because the bit has to travel twice as far to cover the same panel. On a 19" piece with dense detail that is the difference between an afternoon and a full day of machine time. I have no universal number for you; it depends on your bit, your material and how much you want to be in the room. It is the main thing worth experimenting with.
Step three: why aspen
Wood choice matters more here than in almost any other kind of CNC work, and for a counterintuitive reason: you want the wood to be boring.
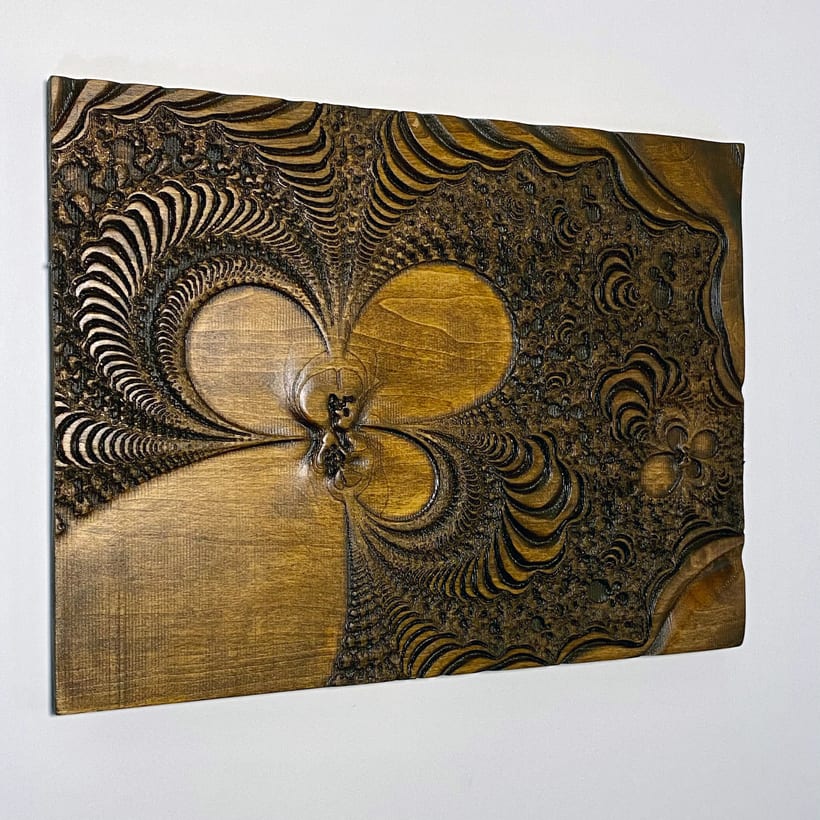
These patterns are already visually dense. A ring-porous wood like oak brings a strong grain of its own, and the result is two patterns arguing — the grain reads as noise laid over mathematics that is supposed to be exact. Aspen is a hardwood with unusually even, quiet grain. It takes fine detail cleanly and then gets out of the way.
All of these are cut from 1-inch aspen stock, which gives enough depth for genuine relief rather than a surface engraving.
The finish is not a finish — it is the reveal
A raw carving out of the machine looks like almost nothing. The geometry is there but it is all one colour, and without shadow the eye cannot read the depth.
Gel stain is what makes it visible. Because it sits rather than soaking straight in, it pools in the recesses and wipes back off the high surfaces — so it darkens exactly the parts the bit cut deepest. The stain traces the toolpath. Hand rubbing controls how far that goes: more rubbing lifts the highlights and increases contrast between the cut depths.
This is the step where a piece stops being a machined panel and becomes an object. It is also entirely manual, which is worth saying plainly on a page about automation.
The series
Seven pieces, each starting from a different piece of mathematics.
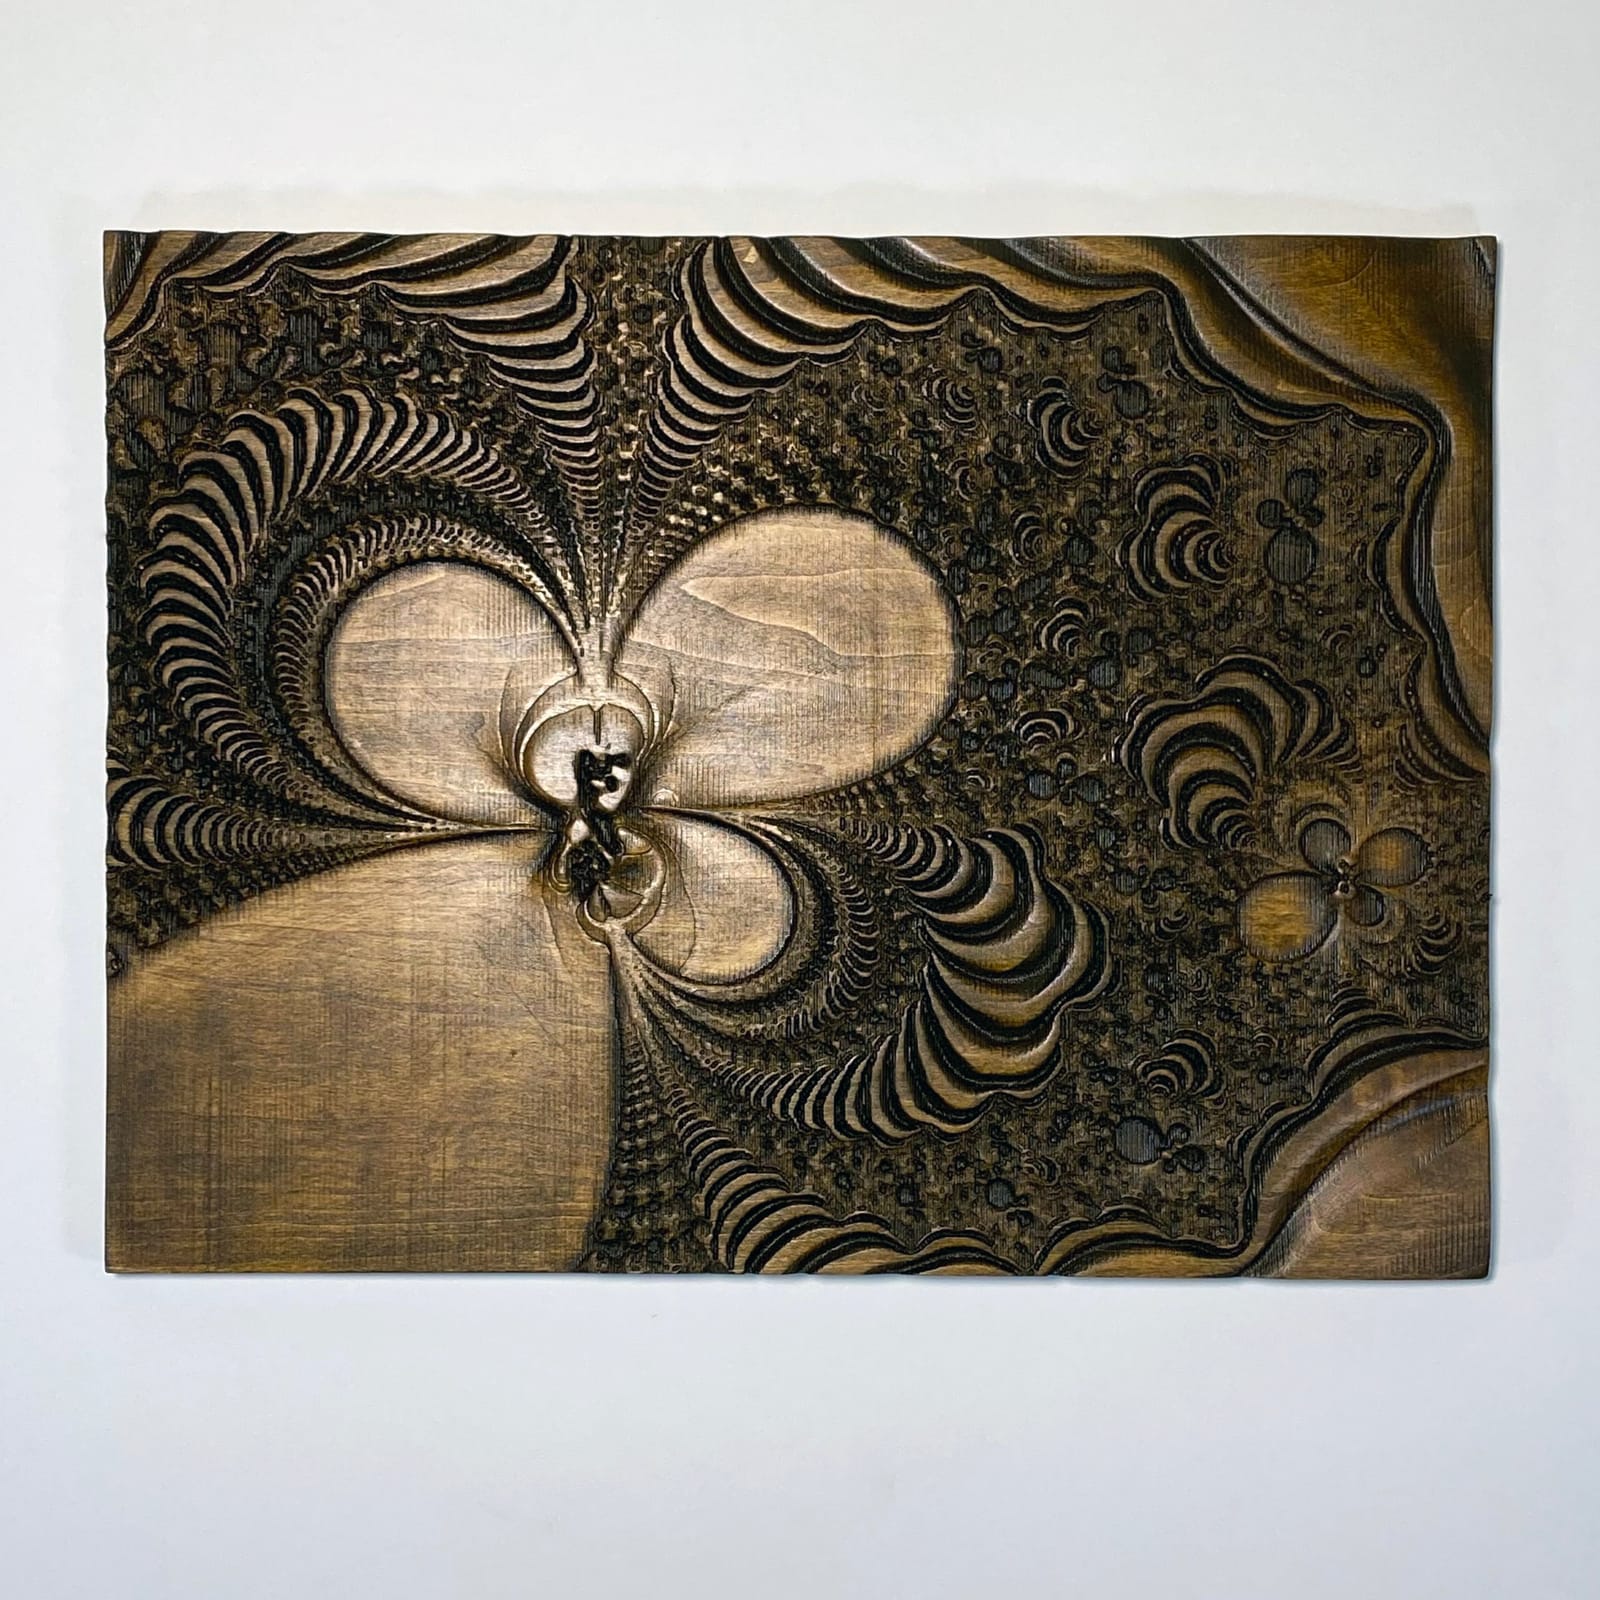
Crucible
Mandelbrot set · boundary zoomA specific location on the Mandelbrot boundary, where the set gets chaotic before resolving back into structure. Finding the view took longer than cutting it. Sold, private collection.
Hyperstar II
Hyperbolic tessellation · gold leafSix months of working in hyperbolic space, where parallel lines diverge. The gold leaf centre is applied by hand after staining. Exhibited at the Bridges Mathematical Art Gallery, 2023.
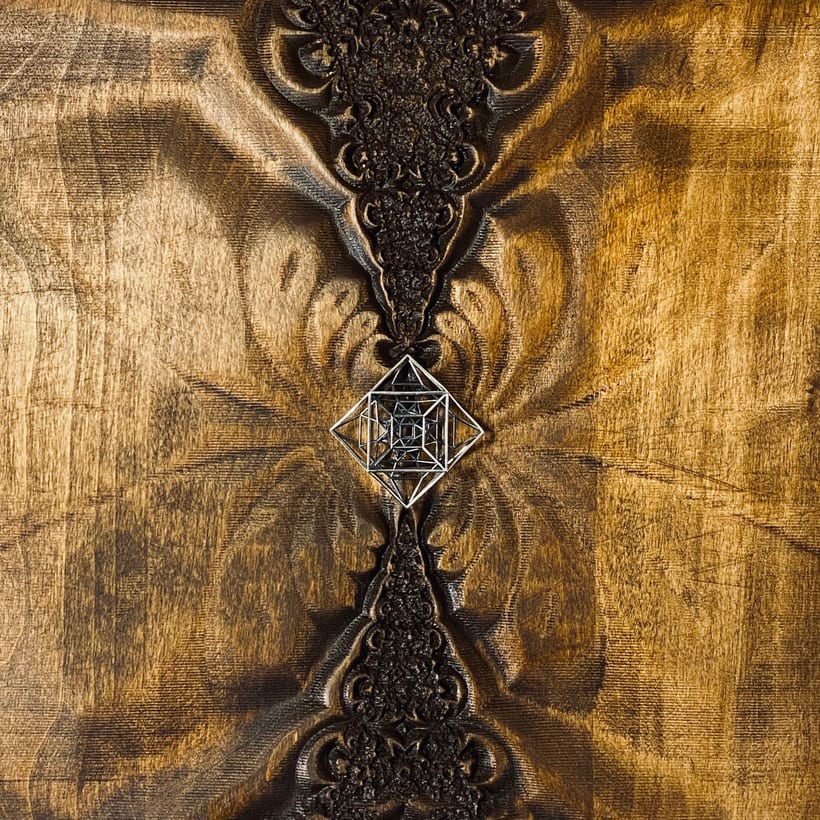
Jiva
Fractal + 4D polytope · metal centreThe one that mixes both halves of my practice: a fractal carving with a metal polytope at its centre — a modified 48-cell I modelled, 3D printed and lost-wax cast through Shapeways. A four-dimensional form, projected into three, then made solid.
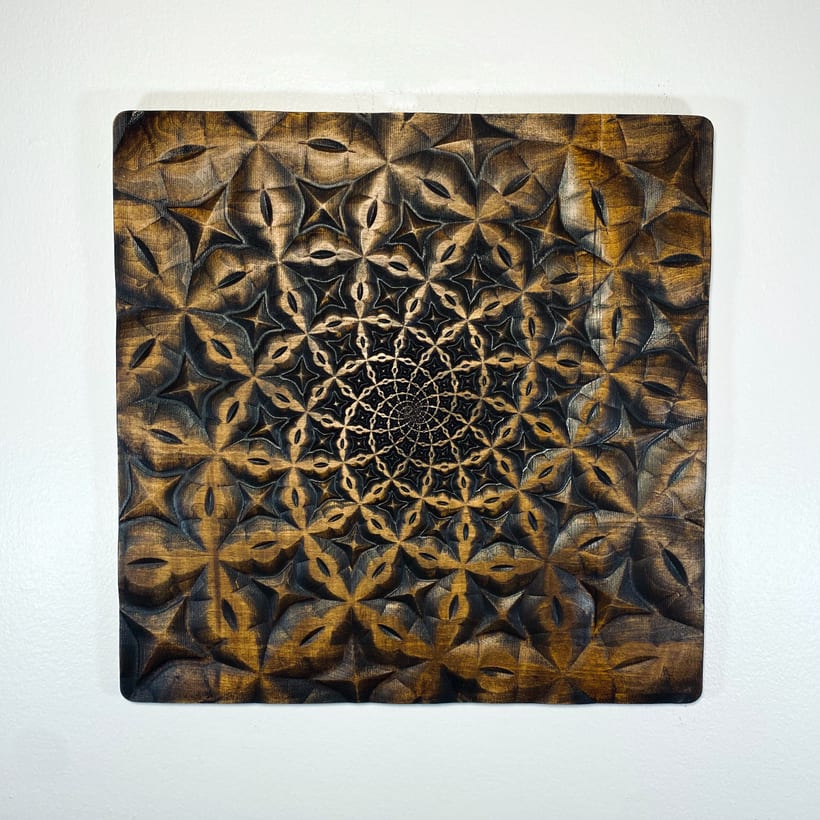
Growth Spiral I
Logarithmic spiralThe spiral that turns up in fern fronds and galaxy arms — each revolution expanding by a constant factor. Exhibited at the Joint Mathematics Meetings Art Exhibition, 2023.
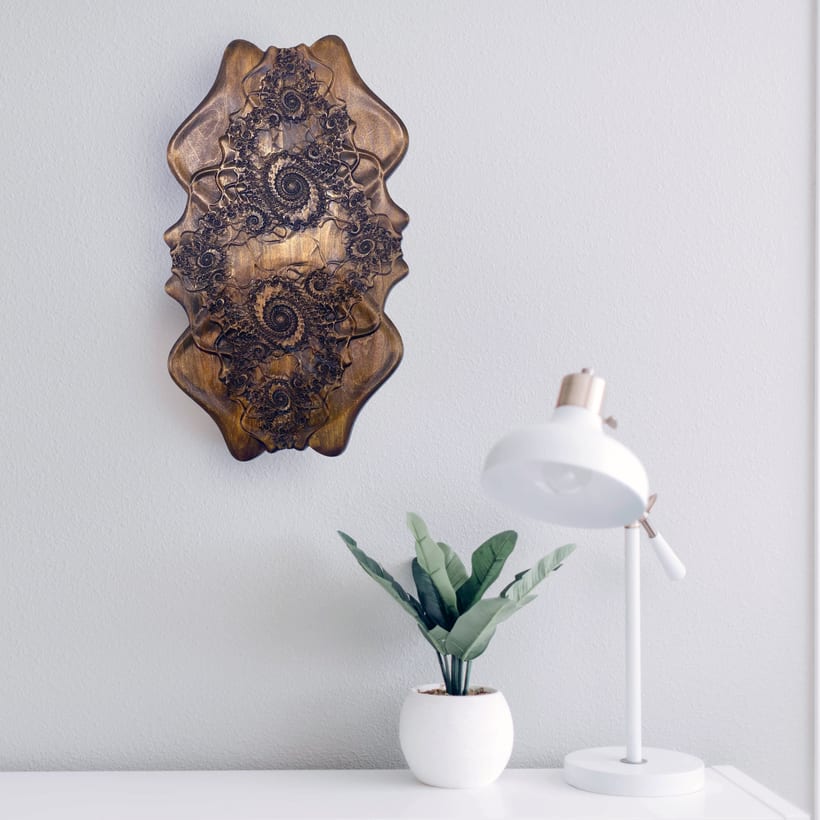
Brinicle
Fractal growth formNamed for the brine icicles that form under sea ice — a branching structure that grows downward and freezes what it touches.
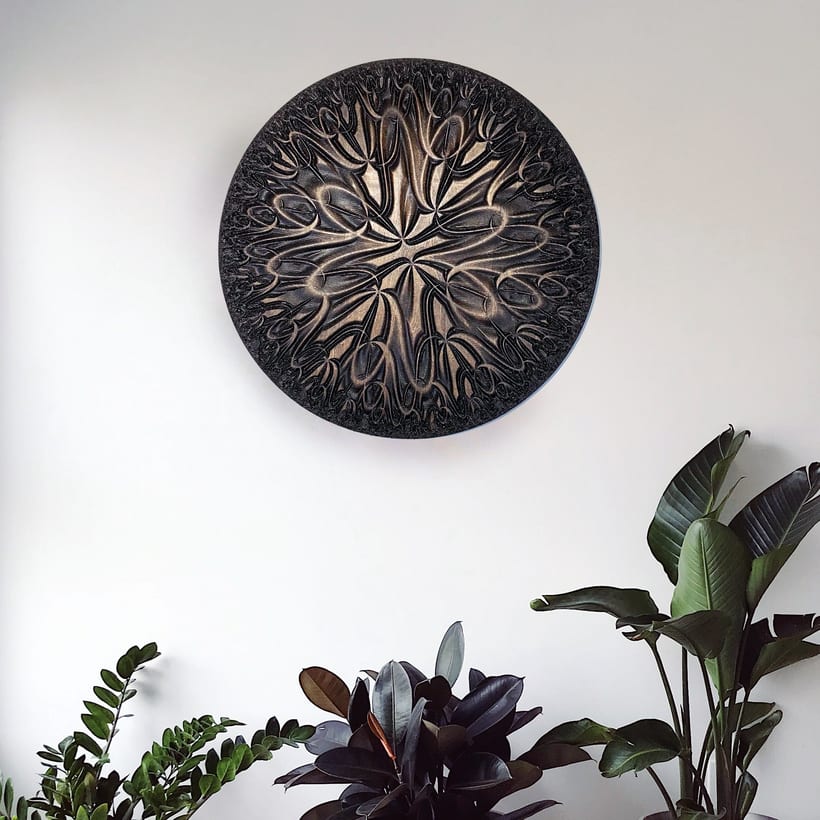
Ripple I
Wave interferenceInterference patterns, where the depth map is the sum of overlapping waves. The simplest mathematics in the series and one of the hardest to stain well.
What I got wrong
Four things cost me material, in roughly the order I learned them.
- Finishing with a flat endmill. The first attempts came out terraced. In CAD the surface is continuous; a flat endmill quantises it into steps and no amount of staining hides that. Ball nose, always, for a curved surface.
- 8-bit depth maps. Banding I could not see on the monitor became visible ridges in raking light on the wall. Export 16-bit.
- Too much stepover, in the name of finishing before midnight. Always visible, always regretted. It is the one place where saving hours costs the piece.
- Trusting the machine on a long finishing pass. Hours of continuous cutting on a hobby CNC is where belt slip and lost steps show up, and a single lost step ruins a panel you cannot re-register. Check on it.
If you want to try this
The barrier is lower than it looks. You need three things, and one of them is now free.
- A source of mathematics as greyscale. Use the 3D fractal viewer — free, browser-based, and it exports the depth maps this process needs.
- CAM that reads greyscale as a relief. Most packages do; look for "image to relief", "heightmap" or "greyscale to 3D" in the toolpath list.
- A hobby CNC and two bits. A 1/8" flat endmill and a 1/16" ball nose will cut everything on this page.
Start with something forgiving. A shallow relief in cheap stock will teach you more about stepover and stain in one afternoon than any amount of reading, this article included.
If you make something with it, I would genuinely like to see it.
Studio dispatches
New work, new writing — straight to you
Occasional letters from the studio. No spam, unsubscribe anytime.